

I was very nervous when I was in a position to apply for my PGWP. I searched the internet for proper guidelines to ensure I didn’t make any mistakes that could affect my three-year work permit. After thorough research, I found the right information, submitted my PGWP application, and received my three-year work permit after waiting almost two months. Let’s dive into more detailed steps. I hope you enjoy this reading.

If you’re an international student in Canada and wondering how to apply for your Post-Graduation Work Permit (PGWP), you’ve landed in the right place. I’m going to walk you through the entire process step-by-step, based on the latest updates from IRCC for 2025. Whether you’re about to graduate or just finished your studies, this guide will clear up all your doubts and help you apply smoothly inside Canada.
This guide is inspired by my own experience and the detailed walk-through I shared in my video. I’ll also show you where to upload important documents like your IELTS or CELPIP results, which, by the way, are now mandatory for PGWP applications starting November 2024.
Table of Contents
- Important Update: English Language Test Required for PGWP After November 2024
- Step 1: Logging into Your GCKey Account
- Step 2: Eligibility Questions
- Step 3: Selecting Post-Graduation Work Permit Option
- Step 4: Application Access and Biometrics
- Step 5: Paying Fees and Uploading Documents
- Step 6: Filling Out the IMM5710 Form
- Step 7: Uploading Your Documents
- Step 8: Paying the Application Fee and Submitting
- After You Get Your Work Permit
- FAQs About PGWP Application Inside Canada
- Final Thoughts
Important Update: English Language Test Required for PGWP After November 2024
One of the biggest changes you need to know about is that if you’re applying for your PGWP after November 2024, you must submit an English language test result. Here’s the breakdown:
- If you studied at a university, you’ll need a CLB 7 level.
- If you studied at a college, a CLB 5 level will suffice.
This means you have to take a recognized English test like IELTS or CELPIP and include the score with your application. I’ll guide you on where exactly to upload this later in the process.

Step 1: Logging into Your GCKey Account
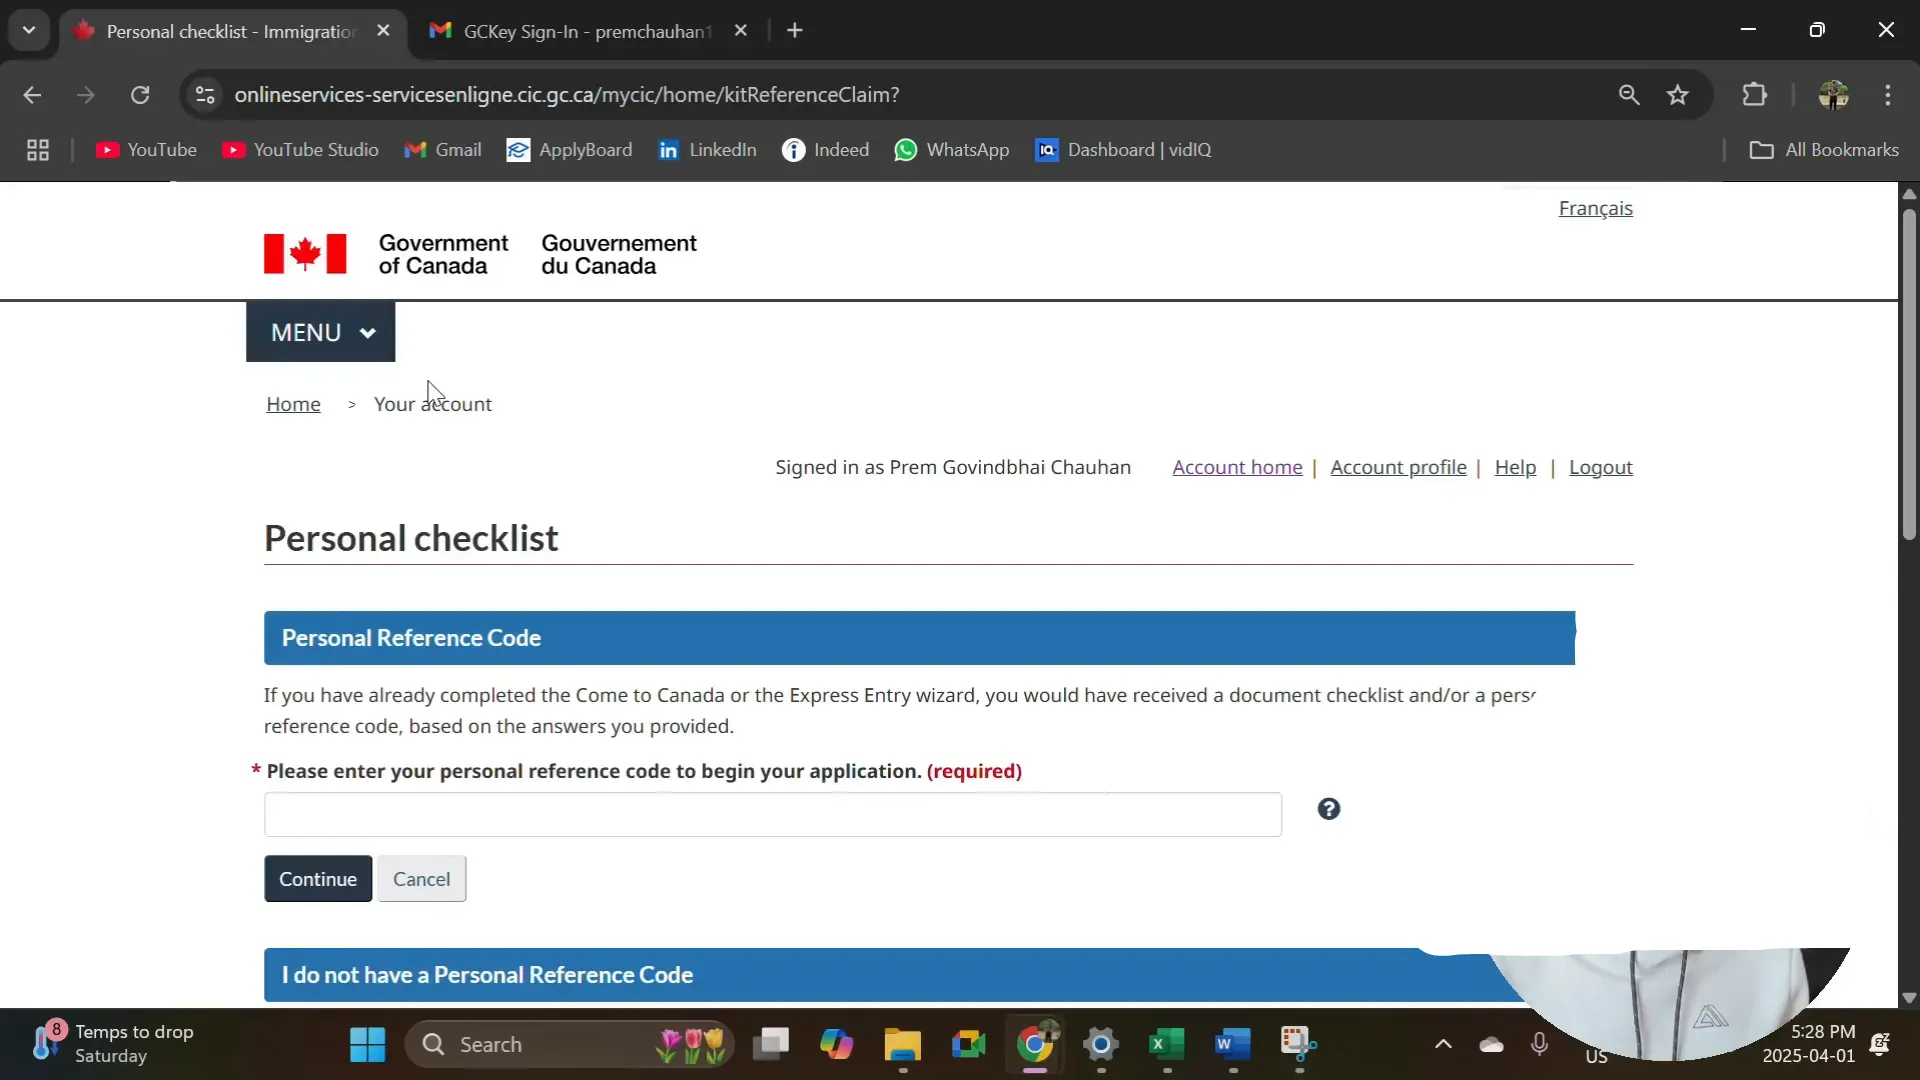
First things first, head over to the IRCC website and log into your GCKey account. This is where you’ll start your PGWP application.
Once logged in, scroll down and click on the option that says Apply to come to Canada. You’ll bypass the personal reference code section and select visitor visa, study, or work permit.
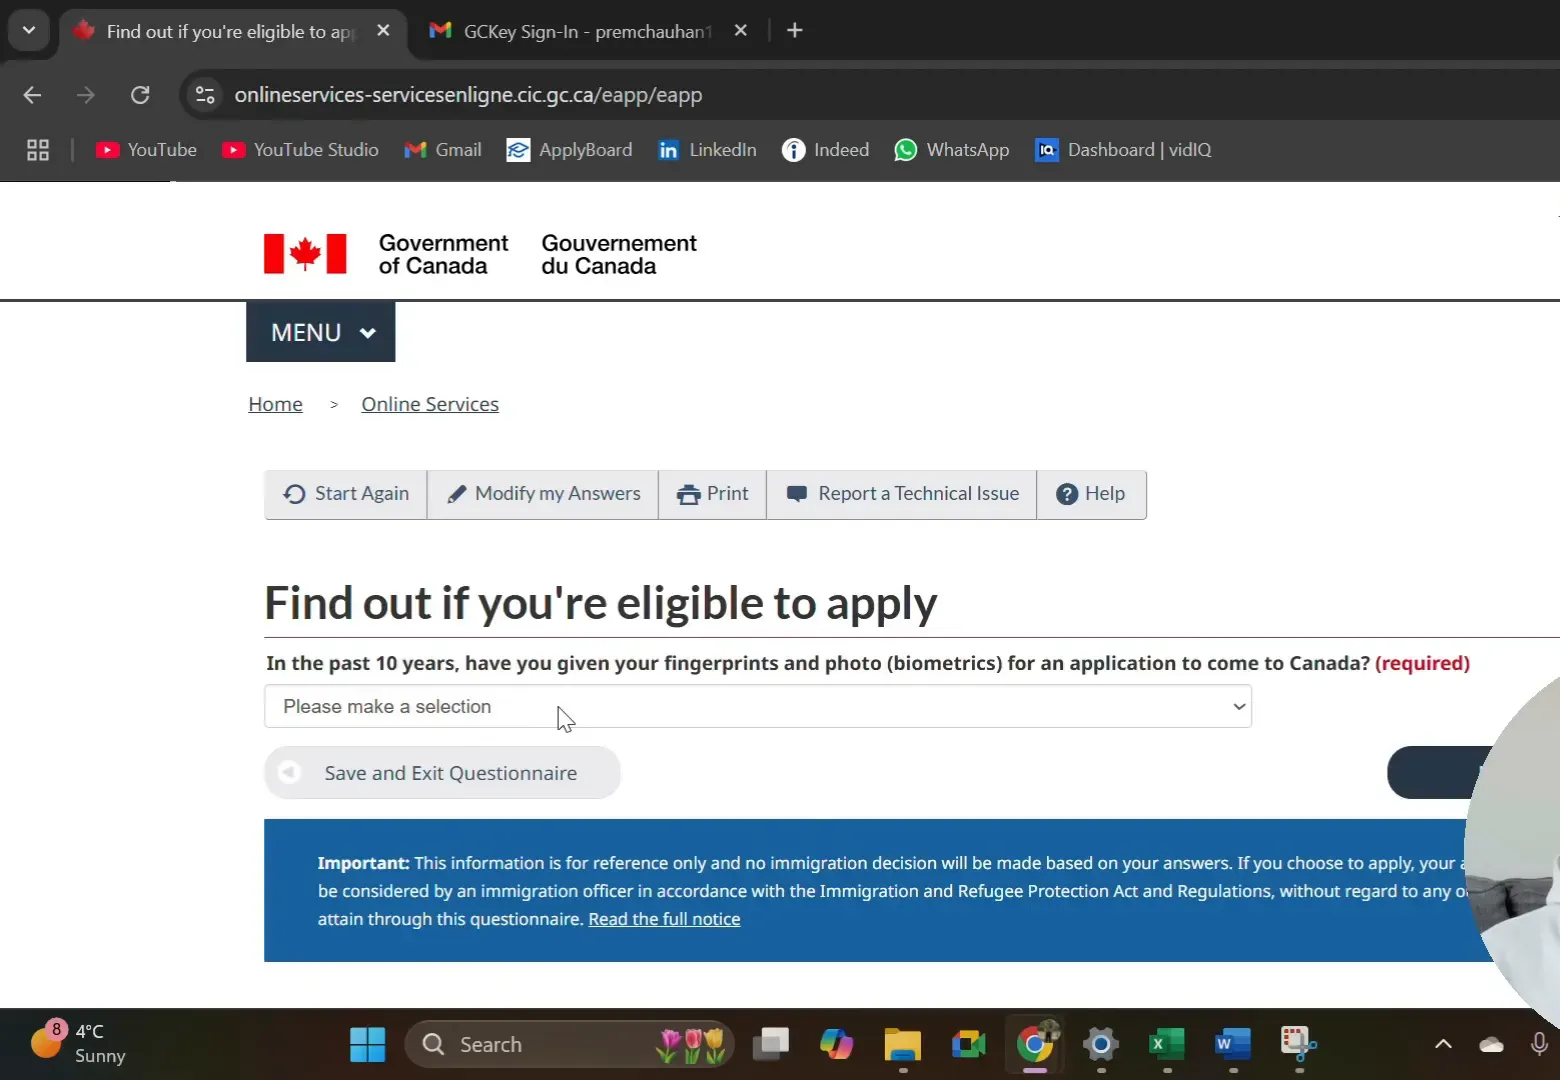
Step 2: Eligibility Questions
The portal will ask you a series of questions to check if you’re eligible for the PGWP. Here’s how to answer them:
- What would you like to do in Canada? Select work.
- How long do you plan to stay? Choose temporary, more than 6 months.
- Select the code matching your passport. For example, mine says INR.
- Current country? If you’re inside Canada, choose Canada.
- Do you have family members who are Canadian citizens? Choose no unless applicable.
- Date of birth — enter yours.
- Are you a lawful PR of the United States? Usually no.
- Current immigration status in Canada? Select student. Make sure your study permit is valid at the time of application.
- Do you plan to work on campus? Usually no.
- Are you a full-time student at a participating post-secondary institution? If you graduated already, select no.
- Have you recently graduated from a participating Canadian post-secondary institute? Select yes if your program was full-time and at least 8 months.
- Is your work an essential part of your studies? Select no if you had no co-op or internship.
- Have you been told by IRCC that you’re approved in principle for PR? Select no if you haven’t applied or been approved.
- Do you have a written job offer? Usually no for PGWP applications.
- Do you have an official letter from your school confirming completion and a transcript? Select yes. You need these documents ready to apply.
- Marital status and province/territory of destination? Choose your current province where you want your work permit mailed. It can be changed later if you move.

Step 3: Selecting Post-Graduation Work Permit Option
After completing the eligibility questions, you’ll be given two options. Select Post-Graduation Work Permit and continue.
Then confirm again that you have your completion letter and transcript from your school.
Next, you’ll be asked about medical exams. Most students don’t need to worry about this unless you plan to work in specific medical or health-related fields. If that applies, you’ll need a valid medical exam done within the last 12 months.
For most, simply select no and continue.

Step 4: Application Access and Biometrics
You’ll then be asked if you’re submitting applications for family members or giving someone else access to your application. For most of us, the answer is no, as you’re applying for yourself.
Regarding biometrics, if you’ve applied for a study permit before, you likely already have your fingerprints and photo done. Select yes here.
Step 5: Paying Fees and Uploading Documents
You’ll confirm that you can scan or photograph your documents and that you will pay the fees online. The PGWP application fee is $255 CAD.
Before you submit, carefully review all your answers. Accuracy is key because once your application is submitted, you won’t be able to make changes.

Step 6: Filling Out the IMM5710 Form
One of the most important parts of your application is the IMM5710 form. You can download it from the IRCC website and open it with Adobe Acrobat.
Here’s how to fill it out:
- UCI number: Found on your study permit.
- Language of service: Choose English or French.
- Applying for a work permit: Select “Apply for a work permit for the first time or with any employer.”
- Personal details: Enter your full name, date of birth, gender, place of birth, citizenship, and current country of residence (Canada).
- Status: Select student.
- Study permit dates: Enter issue and expiry dates.
- Previous residency: If you haven’t lived elsewhere in the last 5 years for more than 6 months, select no.
- Marital status and previous relationships.
- Languages: Select your mother tongue and whether you can communicate in English or French.
- English/French test: Select yes because IELTS or CELPIP is now mandatory.
- Passport details: number, country of issue, and issue and expiry dates.
- National identity document: If you have Aadhaar or something similar, enter details.
- Contact information: your current mailing address (where your PGWP will be sent), phone number, and email.
- Arrival in Canada: Date and place of your original entry (e.g., Toronto Pearson Airport).
- Purpose of entry: Usually study.
- Work permit type: Select post-graduation work permit.
- Education details: Enter your program name, institution, city, and country.
- Employment history: Enter your work history for the last 10 years or select unemployed if none.
- Background information: Answer questions about health, visa refusals, criminal history, etc.
- Consent to be contacted by IRCC: Select yes.
- Signature and date: Enter your full name and the date of application submission.
Once done, click the validate button in the form to check for any missing mandatory fields. This helps avoid mistakes that could delay your application.

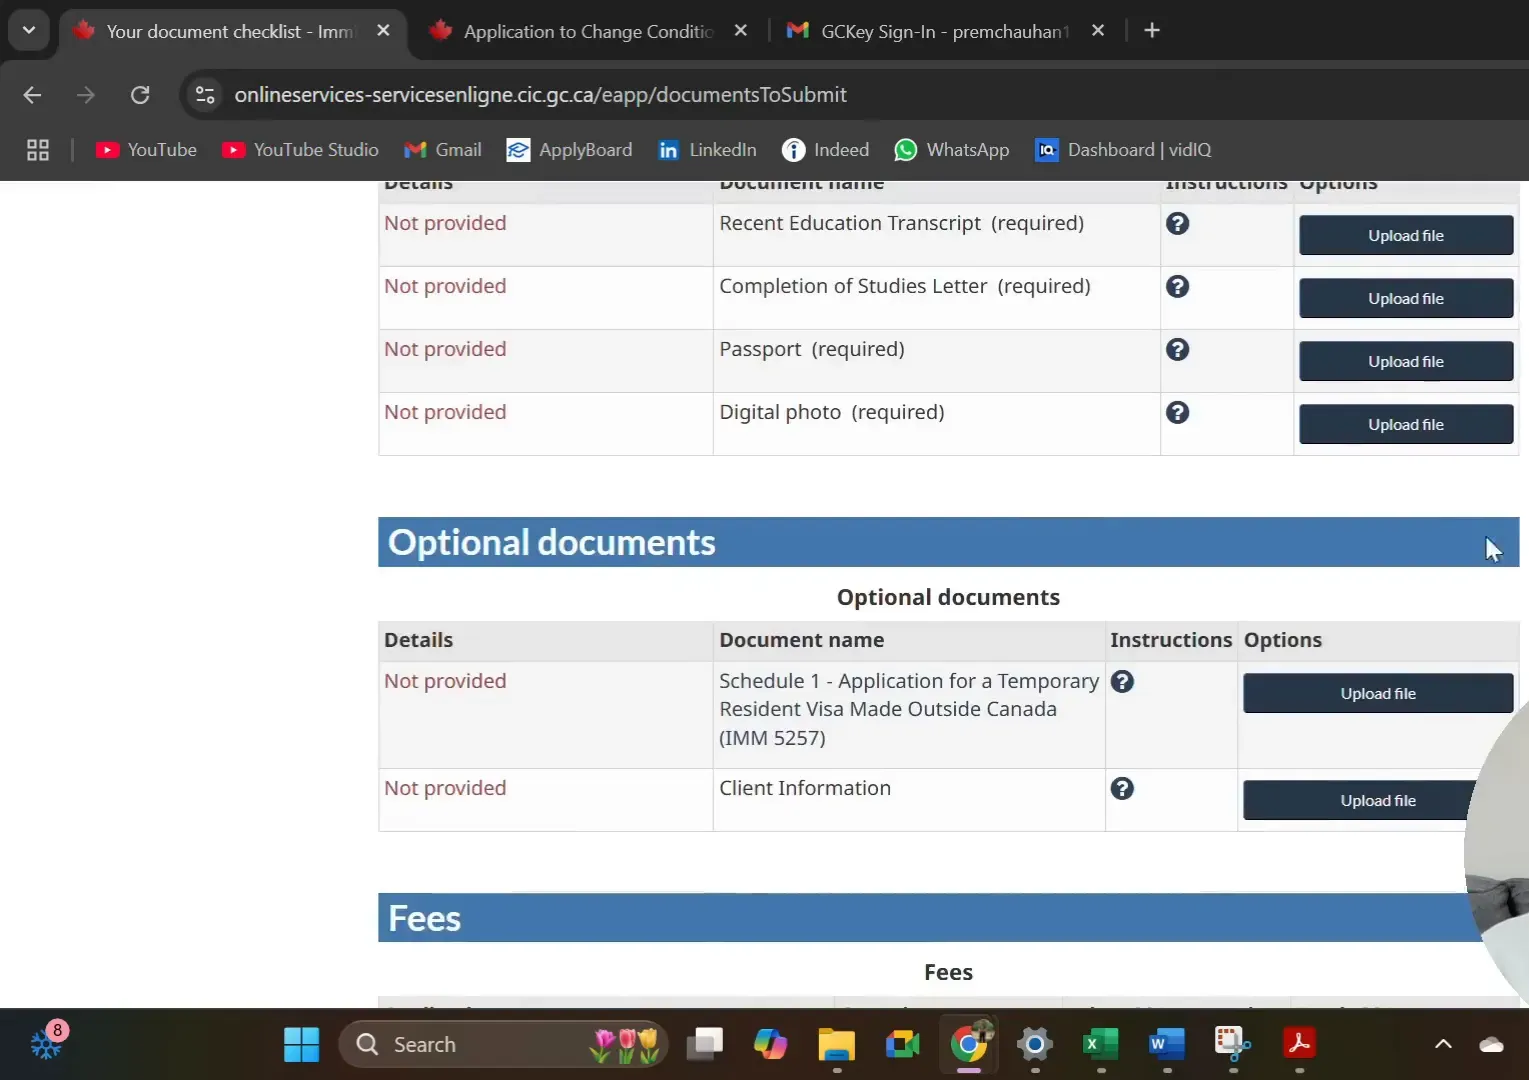
Step 7: Uploading Your Documents
Back in your GCKey account, you’ll upload the completed IMM5710 form. Make sure you also upload:
- Your recent education transcript
- Your official completion of studies letter
- Your passport copy
- Your digital photo (you can reuse the one from your study permit or get a new one from places like UPS or Staples)
- Your IELTS or CELPIP test result (upload this under the client information section)
Double-check all uploads to make sure they’re clear and legible.
Step 8: Paying the Application Fee and Submitting
The final step is to pay your application fee of $255 CAD online using debit or credit card options like Visa or Mastercard.
Once payment is complete, submit your application. You’ll receive a confirmation and can track your application status through your GCKey account.

After You Get Your Work Permit
Once your PGWP is approved and you receive your work permit, you may also need to apply for a Temporary Resident Visa (TRV) if required. I have another guide that covers that process in detail, so be sure to check it out!
FAQs About PGWP Application Inside Canada
Do I need an English test for my PGWP application?
Yes, starting November 2024, IRCC requires an English language test result for PGWP applications. University graduates need CLB 7, and college graduates need CLB 5.
Can I apply for PGWP if my study permit has expired?
No, your study permit must be valid on the day you apply for the PGWP.
What documents are mandatory for the PGWP application?
You need your official completion letter, final transcript, passport, digital photo, and now your IELTS or CELPIP test results.
Do I need a medical exam for PGWP?
Only if you plan to work in certain medical or health-related occupations. Otherwise, it’s generally not required.
How much does it cost to apply for a PGWP?
The application fee is $255 CAD.
Can I apply for PGWP online?
Yes, the entire process is online through the IRCC portal using your GCKey account.
Final Thoughts
Applying for your post-graduation work permit inside Canada can seem overwhelming, but if you follow these steps carefully, it’s pretty straightforward. Remember to keep all your documents ready, double-check every detail, and, most importantly, don’t forget that English test score requirement starting November 2024.
If you want a hassle-free application, take your time to fill out the IMM5710 form accurately and upload clear documents. Paying attention to these details will save you from delays or rejections.
Good luck with your PGWP application! If you have any questions or want to share your experience, feel free to drop a comment below or reach out on my Instagram.
Zahid arrived in Canada in February 2021 as a master’s student in business analytics at Carleton University in Ottawa, Ontario, in -30°C weather with no prior knowledge of the country. Over the following years, he independently navigated everything from mortgage research and PR applications to driving licenses, postgraduate work permits, and exploring both the East and West coasts of Canada.
He created Canada Wander to share the practical, experience-based guides he wished had existed when he arrived—helping other newcomers skip the frustration and navigate Canadian life with confidence.


1 thought on “How To Apply PGWP Inside Canada | Step-by-Step Tutorial Guide”
Hi, do you have a step by step in applying dependents and sowp?